2012/12/06
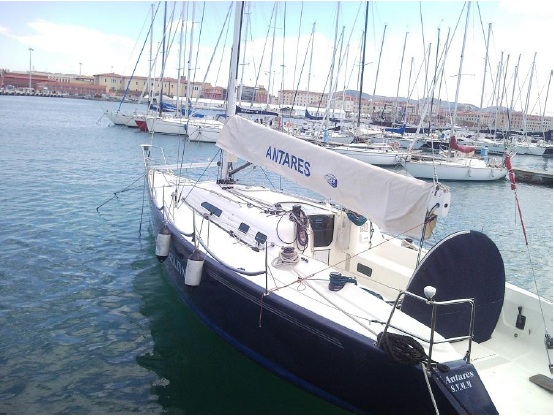
Following the installation of a panel SOLBIANFLEX SP 50Q on the boat of the Italian Navy Antares - July 2012.
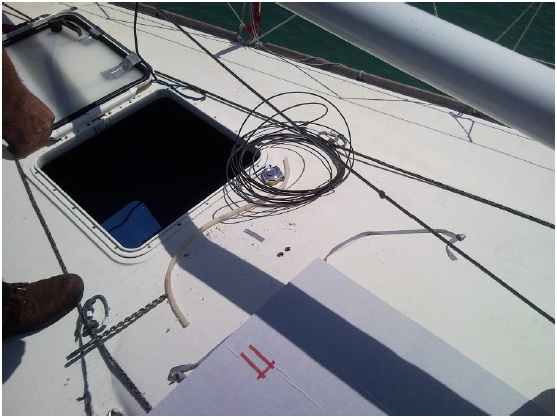
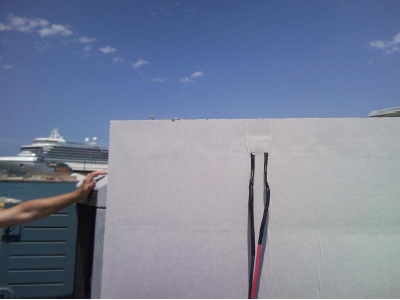
Locate the point where you want to install the solar panel and continue drilling the hull after marking the position of the rear ribbon and have calculated the space available.
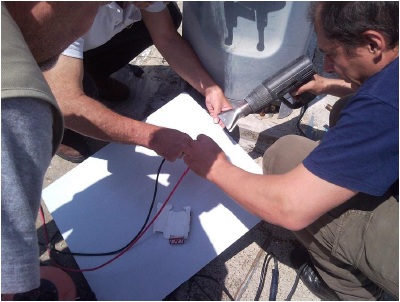
In the image the soldering ribbon are highlighted in red on the rear of the panel.
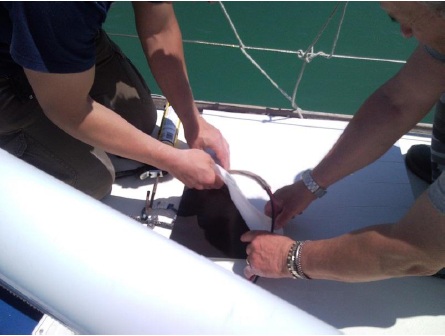
Solder the wires to the ribbon of the panel (in this case it was decided to use a red cable to the positive terminal and a black wire to the negative terminal). At the point of the weld is strongly recommended to apply a section of a shrink sheath to ensure maximum protection.
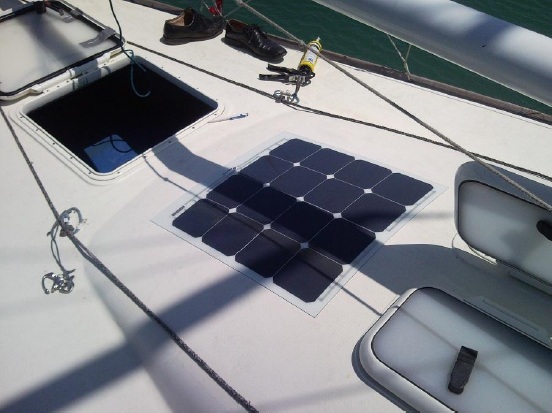
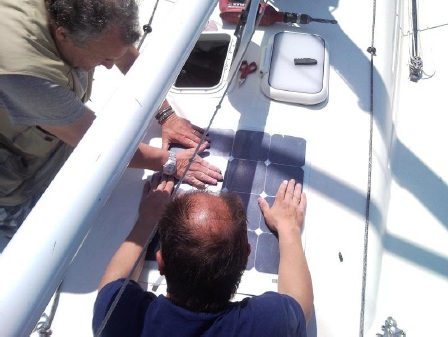
Remove the protection film and proceed with the application of the panel into the established place. It is important to be careful because the adhesive used is very powerful and difficult to remove. The wiring will be brought into the boat through the holes drilled in Step 1.
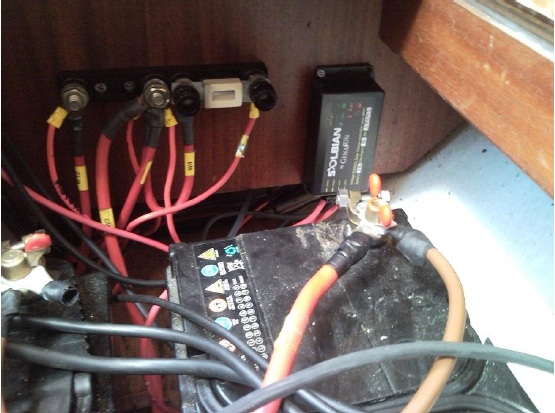
Then, the charge controller will be connected to the battery inside the boat.
Connect the cables of the panel to the charge controller (This is the Genasun 12-8 with MPPT technology and StepUp).
Panel "Solbianflex" SP 50Q of 50Wp with Sunpower cells, installed on the deck of a sailing boat, walked on without any hindrance by JunctionBox and external connections.
For this type of installation is recommended the assistance of an expert installer